Bias Binding goes bananas!
I am so pleased to have taken the time recently to learn how to make my own continuous bias binding. This looks tricky, but I have read several sets of instructions and watched different videos. I tried this, became over-confident, used my unpicker (everyone's favourite job) and tried again. I can now make continuous bias binding using any fabric perfectly to match my project!
This is a neat way to make continuous bias binding, and while your first attempt might send you bananas, I promise it will get easier. 🙂
You can use binding made from straight cuts of fabric; however, this will not curve around shapes (e.g. necklines or curved corners). Bias binding has the additional ability to curve and provides a stronger folded edge as the fold sits on the cross-section or diagonal of the woven threads (and not with the grain of fabric).
This technique works with squares or rectangles of fabric and creates an amazing length of bias binding...and only two seams to sew!
Step 1 - Make a parallelogram
Take your square or rectangle of fabric and cut at 45°. (For a square this is a cut from corner to corner)
Flip and place right sides together and sew the straight seam. Press seam open.

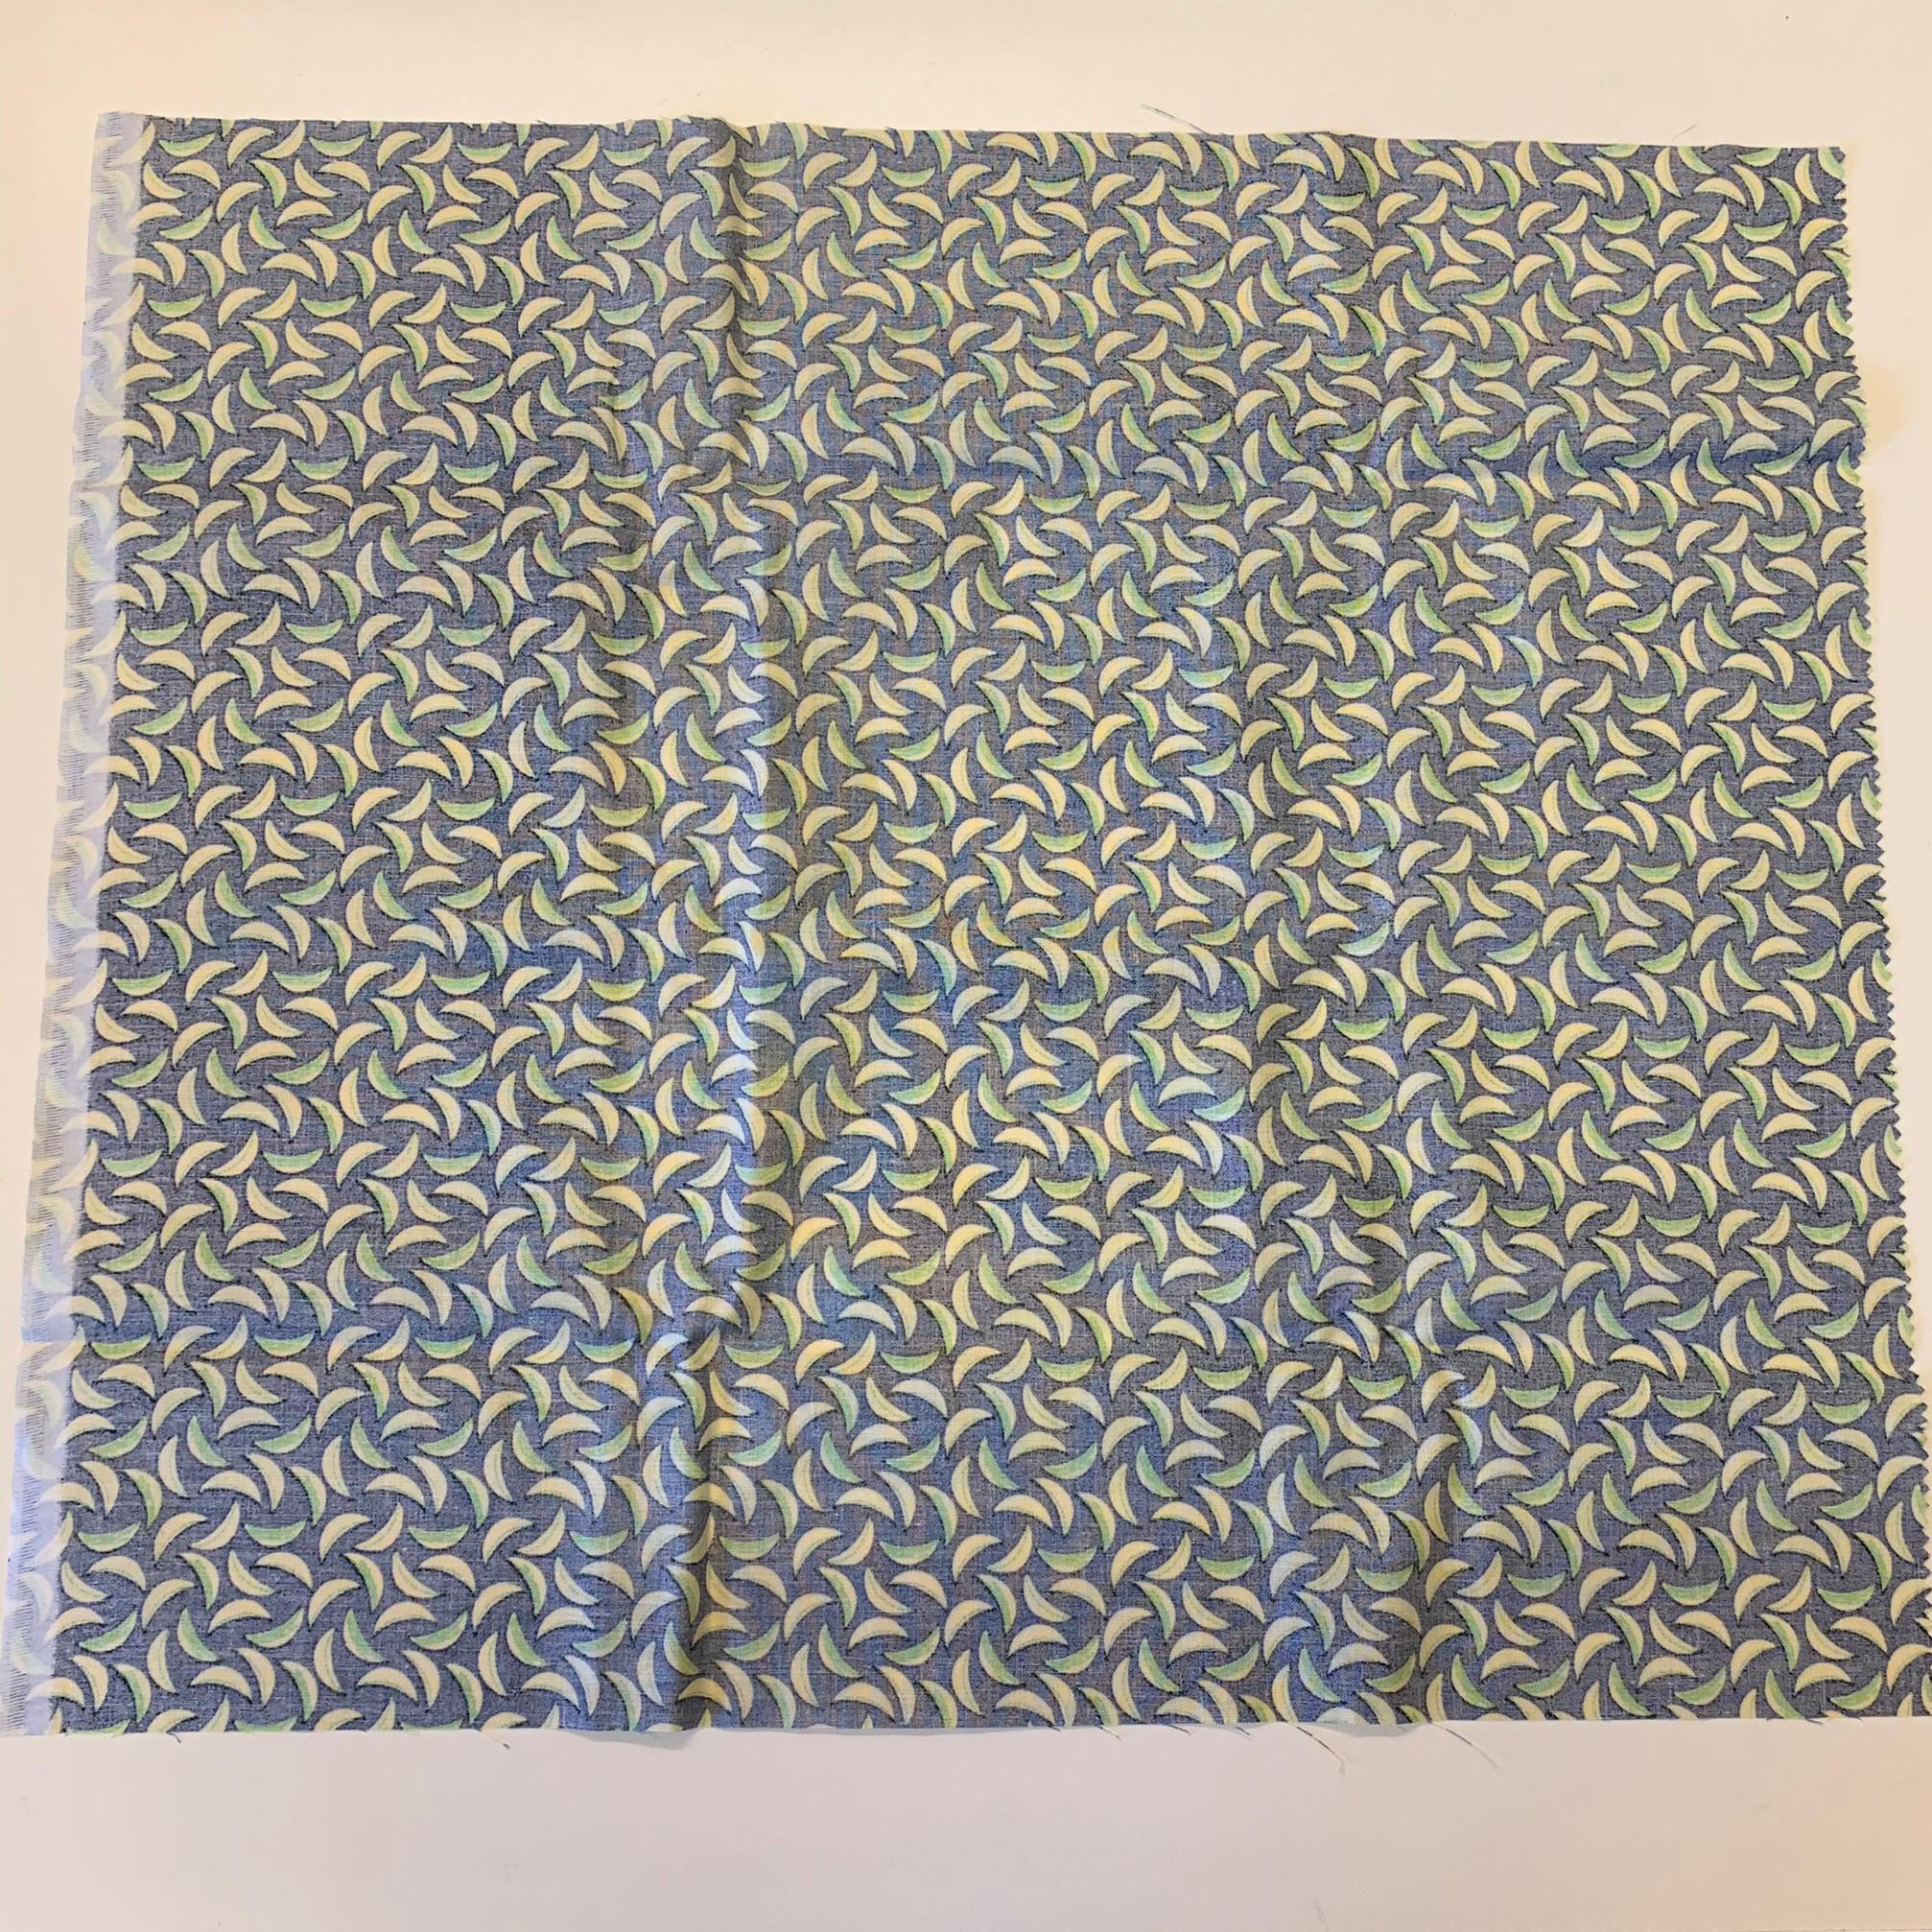
fantastic banana fabric square or rectangle

cut at 45°

join to make a parallelogram

press seam open

Step 2 - Mark binding width
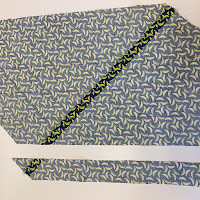
Using a washable marker (or chalk or another removable marking), mark the fabric on the bias from the 45° cut. (To check - make sure you intersect the first seam at 45° and not at 90° or straight across.)
I prefer 2" or 2.5" widths of binding to work with, so in the photos below I have marked 2.5" width lines across the whole fabric.
Alternatively, you can measure your fabric and divide it into equal widths to reduce waste. I didn't measure before marking my lines so when I got to the other side, the last section was less than my width and I cut this off (discarded).

lines marked 2.5" apart
discard (too narrow)
Step 3 - Join second seam - offset
This is the trickiest step!
Layout your fabric and offset by the width of one strip.

offset
Pin the seam and sew. Note that your drawn lines will intersect and cross at the seam (by the amount of your seam allowance). This seam forms a spiral around your fabric and it won't feel straight as you sew it. Trust your pinning!
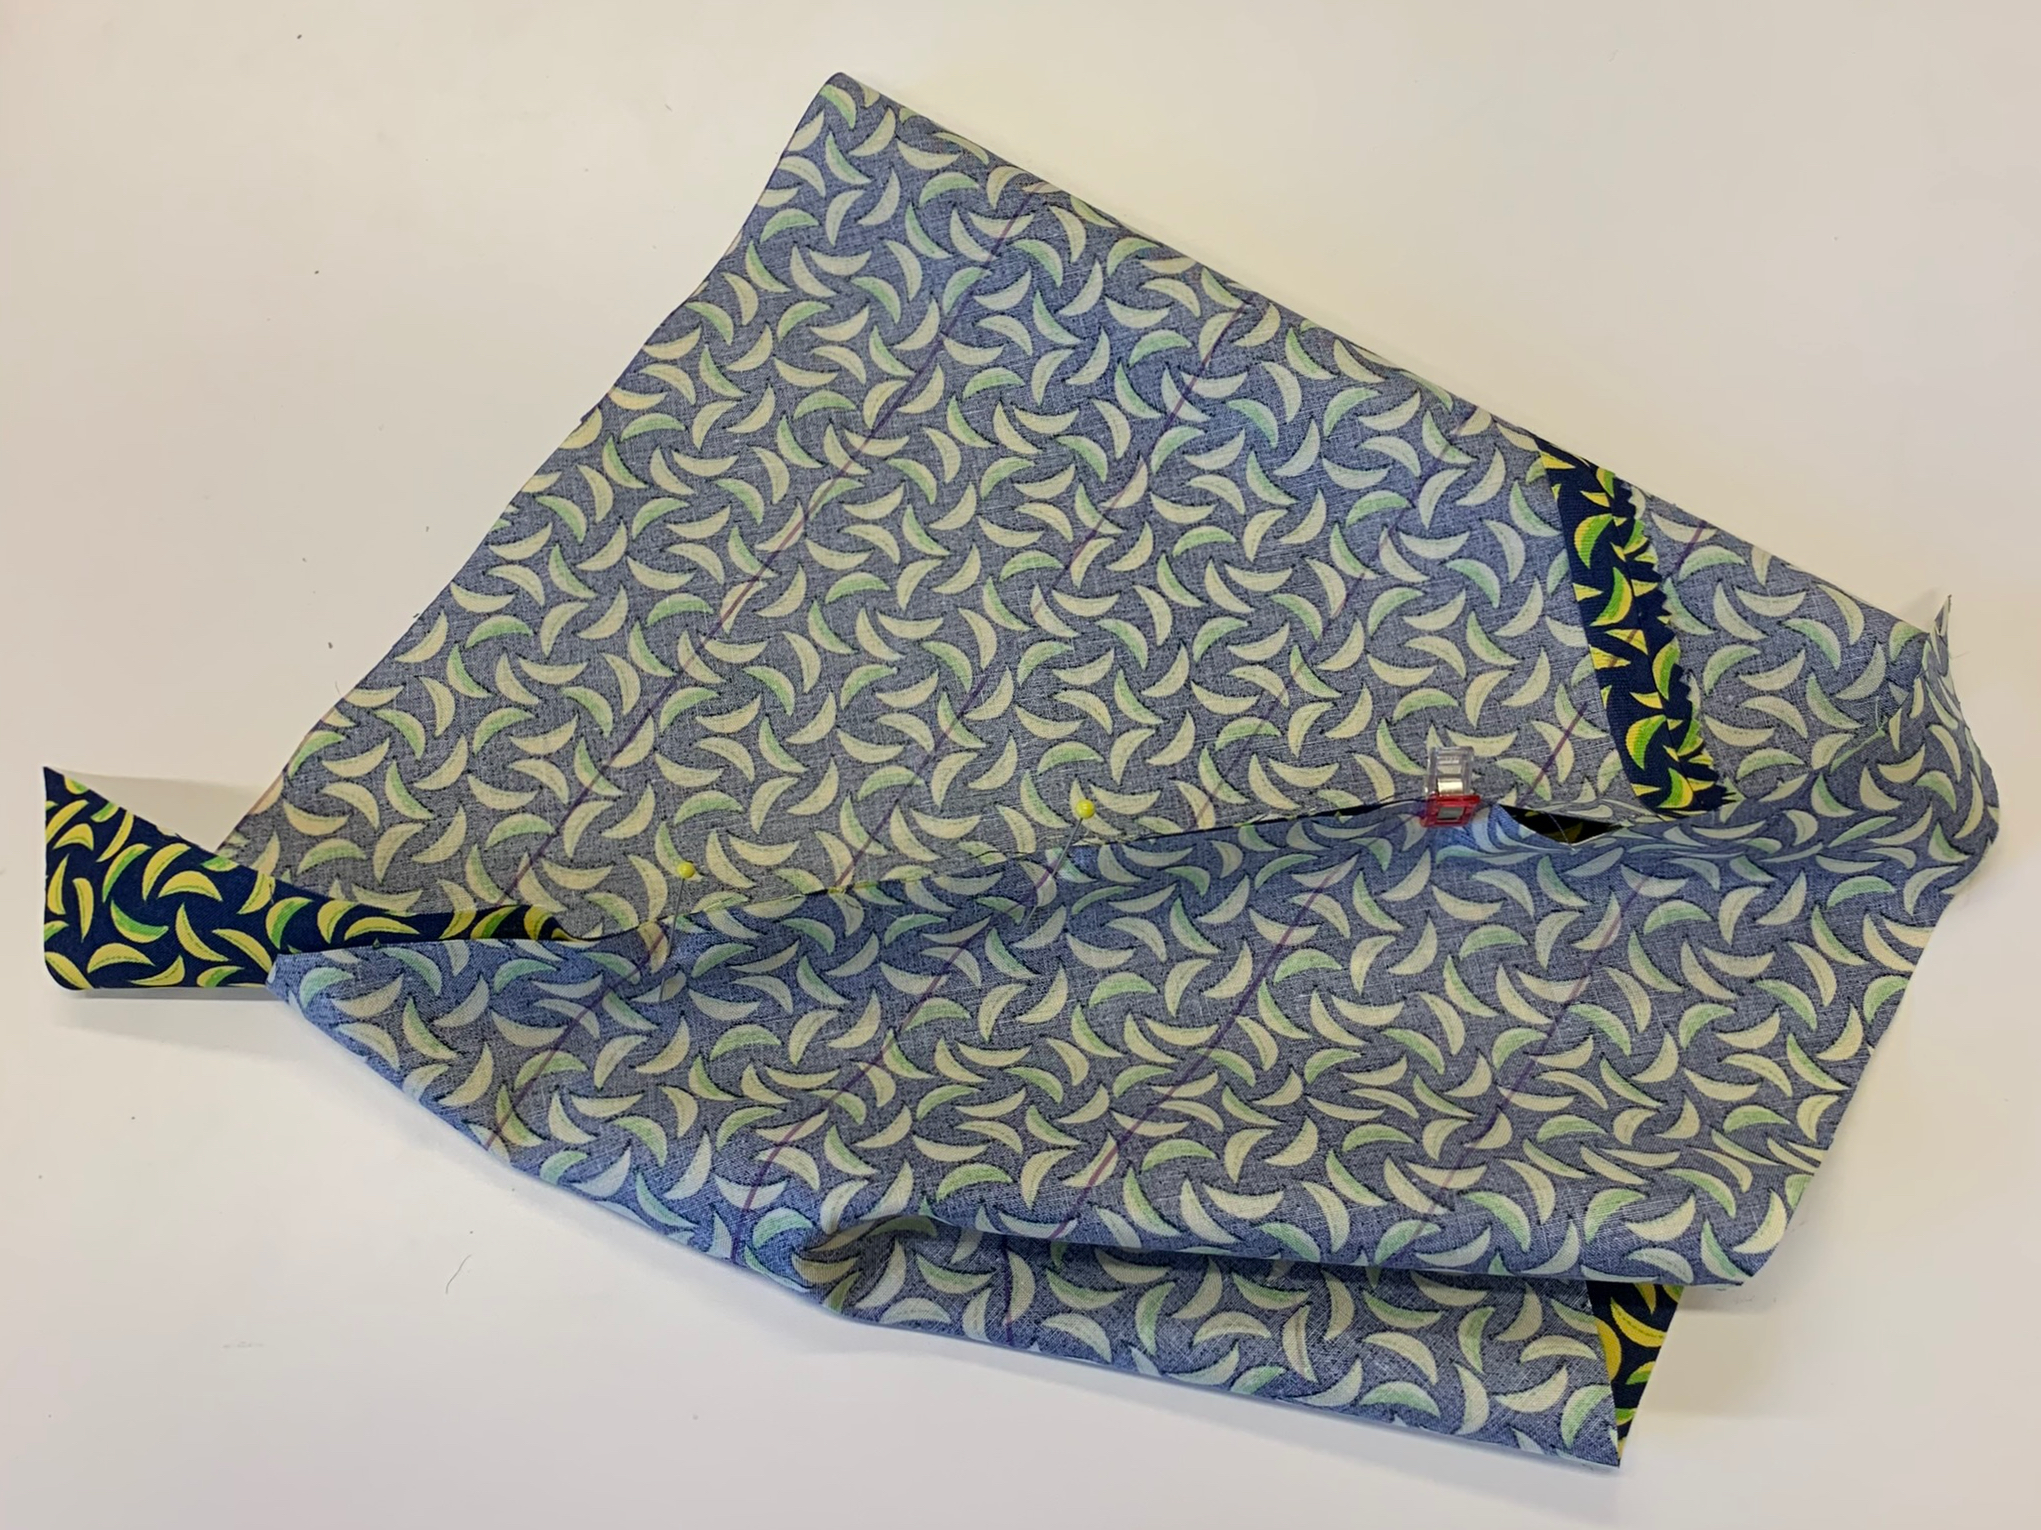
pinned

sewn
Step 4 - Cutting and more cutting
Start cutting along the lines. Press the seam open as you get to it with each strip.

cut

press seam open

delightful pile of cut bias binding
Step 5 - Ironing and more ironing
It is time to iron your bias binding to your preference. Take care not to stretch your bias while you iron. Try gently finger pressing the crease in and then placing the iron on top, rather than pulling the bias through the iron.


single bias single fold bias double fold bias

ironing

bias binding
And just to make it easier if you like working from a printout, here is a Continuous bias binding tutorial on two A4 pages in pdf format.
Comments
Post a Comment